Post Production Video Editing: Complete Guide for 2026
Discover how post production video editing transforms raw footage into professional content. Learn workflows, tools, and outsourcing tips.
10 Min. ReadRead More
5 dedicated editor spots open this week. Book a call to reserve →
Learn how to make video from clips efficiently in 2026. Discover tools, workflows, and editing strategies that turn raw footage into engaging content.
September 15, 2026
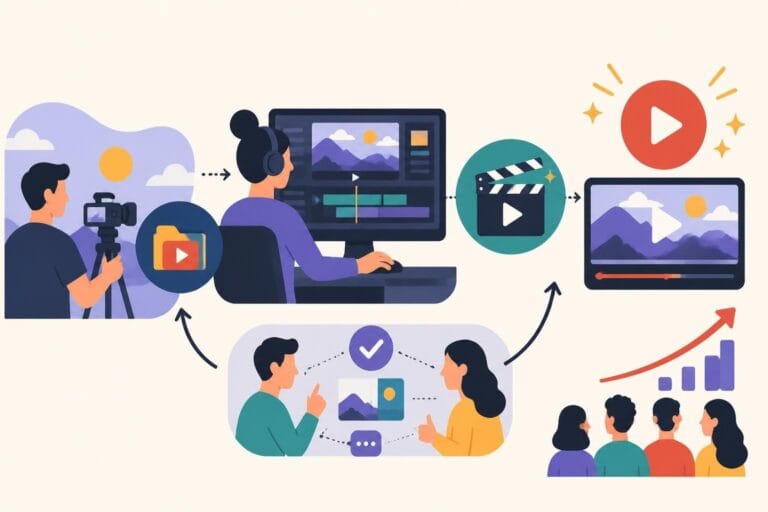
You've got dozens of video clips scattered across your phone, camera, and cloud drives. They're good clips – really good – but they're not doing anything for you sitting there. Every content creator, marketer, and business owner faces this exact challenge: you need to make video from clips that actually engage your audience, but the process feels overwhelming. The good news? In 2026, the tools and workflows for assembling professional videos from raw footage have never been more accessible or powerful.
Video content isn't optional anymore. It's how your audience discovers you, trusts you, and buys from you. But here's the thing: most people aren't struggling with filming. They're drowning in clips they never turn into finished content.
When you make video from clips strategically, you're not just editing – you're building your brand's visual identity. Every montage, every product demo, every behind-the-scenes story comes from individual clips that need shaping into something compelling.
Here's what happens when you master this skill:
The businesses winning with video content right now aren't necessarily filming more. They're just better at turning what they already have into finished videos that perform.
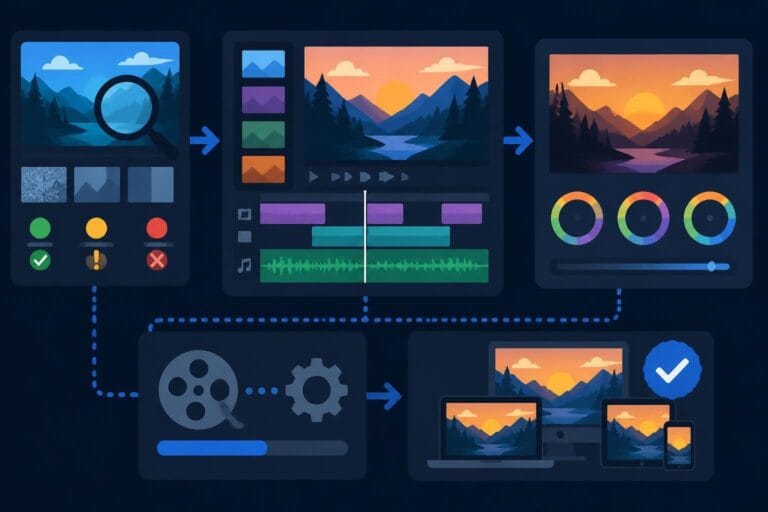
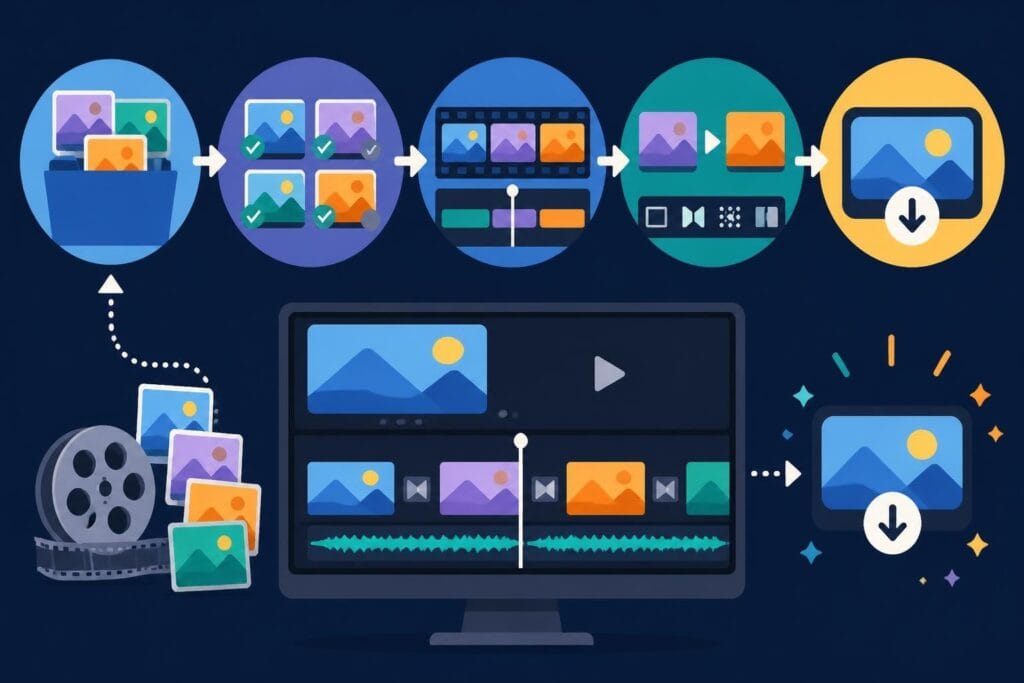
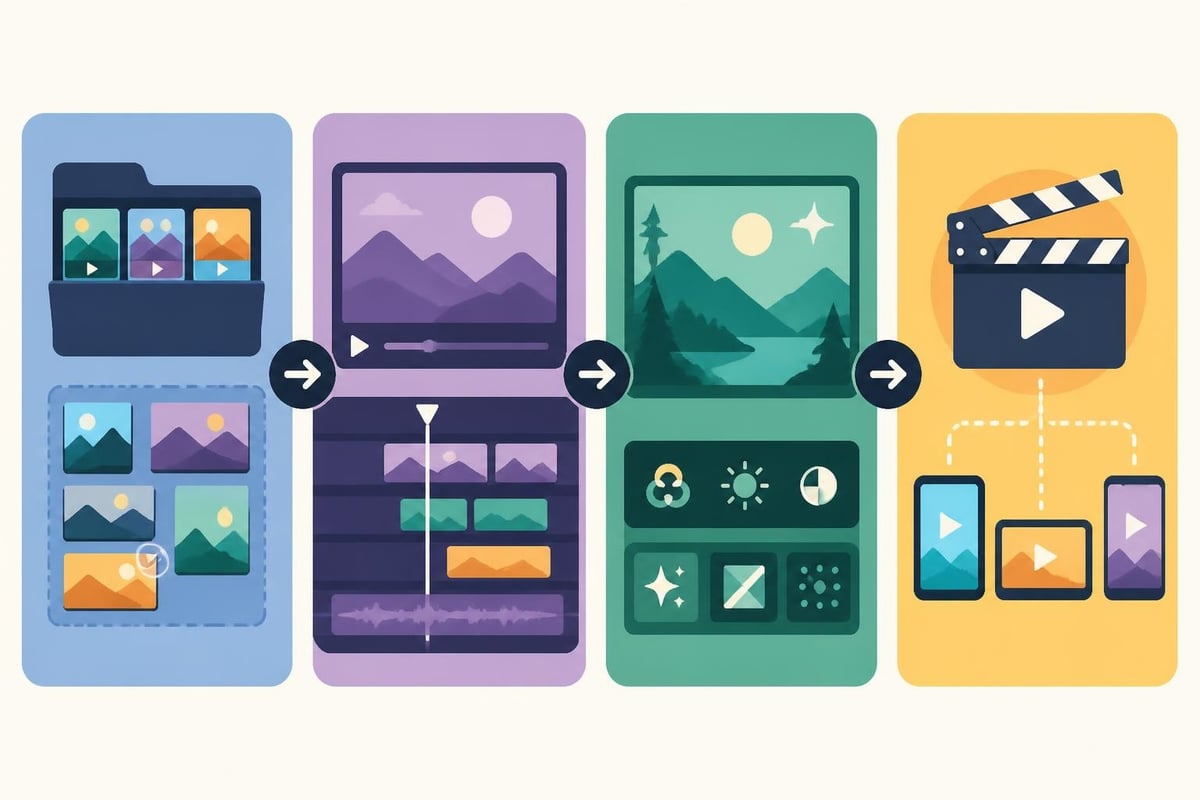
Before you can make video from clips effectively, you need a clear workflow. Think of it like cooking – you wouldn't start throwing ingredients in a pan without a plan, right?
Phase 1: Organization and Selection
Start by gathering all your clips in one place. Cloud storage, external drives, phone galleries – get everything consolidated. Then ruthlessly curate. Not every clip deserves to make the cut.
Ask yourself:
Phase 2: Sequencing and Structure
This is where you make video from clips by arranging them in an order that tells a story. Even a 30-second product showcase needs flow.
| Sequence Type | Best For | Key Consideration |
|---|---|---|
| Chronological | Tutorials, vlogs, event recaps | Maintains natural progression |
| Problem-Solution | Marketing content, case studies | Builds tension then resolves |
| Highlight Reel | Portfolio, testimonials, demos | Energy and pacing matter most |
Phase 3: Enhancement
Raw clips rarely work as-is. You'll need transitions, color correction, audio balancing, and graphics. This phase transforms good clips into a cohesive video that feels intentional.
Phase 4: Export and Optimization
Different platforms need different specs. Your Instagram Reels settings won't work for YouTube. Plan your exports based on where your audience actually watches.
You don't need Hollywood-level software to make video from clips that look professional. But you do need tools that match your skill level and workflow.
Professional-Grade Options:
For teams that need precision and control, platforms like Final Cut Pro offer advanced features like compound clips for organizing complex projects. These tools excel when you're working with lots of footage sources and need frame-accurate editing.
DaVinci Resolve and Adobe Premiere Pro remain industry standards because they handle everything from basic cuts to complex color grading. The learning curve is real, but so is the power.
Mid-Level Tools:
Sometimes you need to make video from clips while you're literally on the go. Mobile apps have gotten seriously impressive:
Cloud-based editors like WeVideo and Kapwing let you work from any device without massive downloads. Perfect for teams collaborating remotely.
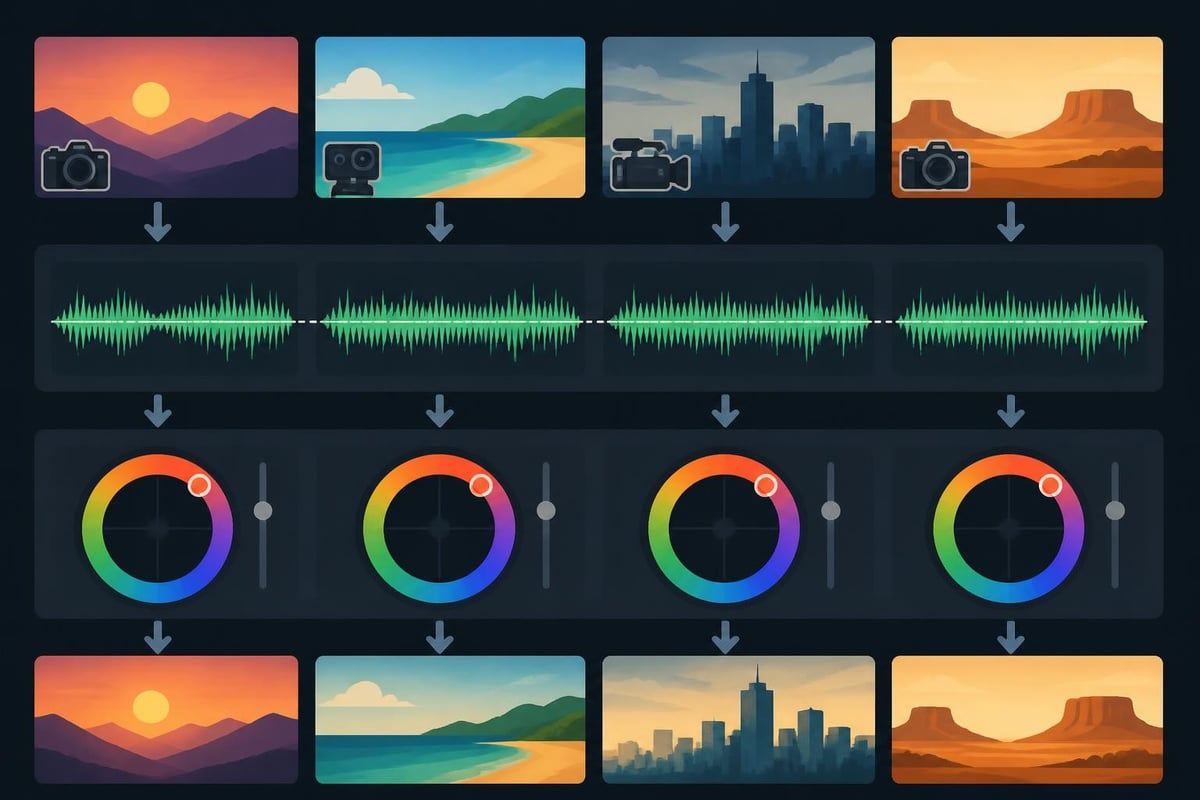
Here's something most editing tutorials skip: sometimes your clips won't work together smoothly. Different cameras, formats, frame rates – it all creates technical headaches.
FFmpeg’s documentation provides essential guidance for handling format mismatches and concatenating clips properly, especially when you're working with footage from multiple sources.
Common issues when you make video from clips:
Smart editors create proxies – lower-resolution versions that edit smoothly – then conform everything during export. It's tedious but necessary for professional results.
You can nail the sequencing and still end up with a video that looks disjointed. Why? Because each clip probably has different color and audio characteristics.
When you shoot clips over multiple days or locations, lighting changes. Your morning clips look completely different from afternoon footage.
Quick fixes that work:
Don't overthink it. Slight variations are normal and often unnoticeable. Just avoid jarring jumps between clips.
Nothing screams "amateur hour" like audio levels bouncing all over the place. You make video from clips that viewers abandon when the sound suddenly blasts or drops out.
Audio workflow essentials:
Most modern editing software includes automatic audio balancing. Use it. Then fine-tune by ear.
Transitions between clips can make or break your video. Done well, they're invisible. Done poorly, they scream "I just discovered editing software!"
| Transition Type | Use Case | Avoid When |
|---|---|---|
| Cut (none) | 90% of the time | Audio would jar |
| Crossfade | Mood changes, time jumps | Fast-paced action |
| J-cut/L-cut | Dialogue, interviews | Music videos |
| Wipe | Retro/playful content | Professional corporate |
| Zoom transition | Energy, social content | Documentary style |
The golden rule: If viewers notice your transition, you probably chose wrong. When you make video from clips, smooth flow matters more than fancy effects.
Match cuts – where similar shapes or movements connect clips – look incredibly professional with minimal effort. Think of someone tossing something in one clip, and it "lands" in the next clip's scene.
Creative transitions that work in 2026:
These techniques help you make video from clips that feel intentional rather than randomly assembled.
Technical skills only get you halfway. The other half is knowing how to arrange clips into stories people actually want to watch.
First 3 seconds: Your absolute best clip goes here. Not the introduction, not the setup – the moment that makes someone stop scrolling.
Seconds 4-15: Build context. Show the problem, set up the tension, or introduce the transformation.
Middle section: Deliver on your promise. Tutorial steps, product features, event highlights – whatever you promised in the hook.
Final 10 seconds: Strong ending with clear next action. Don't let it just fade out.
When content creators make video from clips using this structure, they see measurably better retention and engagement.
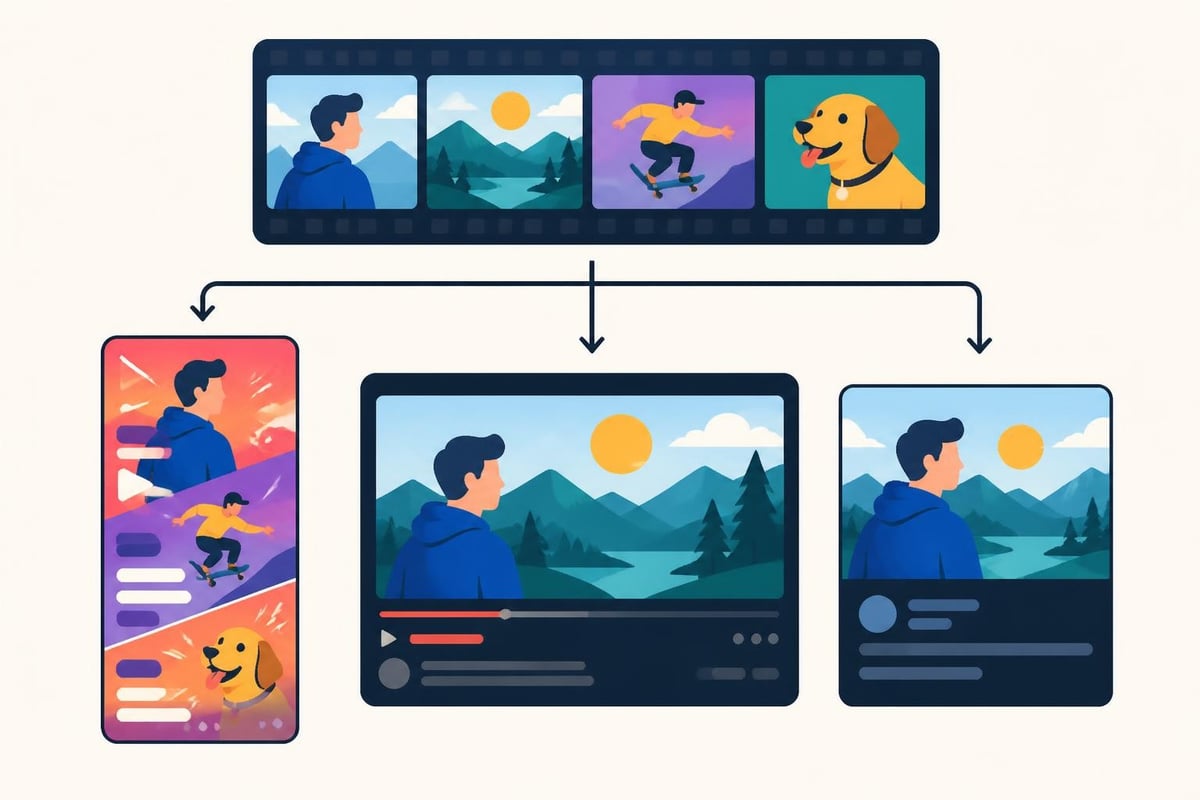
You wouldn't wear the same outfit to a wedding and a workout. Same logic applies when you make video from clips for different platforms:
Instagram Reels/TikTok:
YouTube:
LinkedIn:
When you make video from clips shot on multiple cameras or devices, syncing becomes critical. Nothing looks worse than mismatched audio or action that doesn't align.
Pro tip: When shooting, record scratch audio on all cameras. Even if you're using separate audio gear, having reference audio on every clip makes syncing dramatically easier.
Modern projects often combine smartphone clips, DSLR footage, drone shots, and stock footage. Making these disparate sources work together requires planning.
Standardization checklist:
Time is your most valuable resource. The faster you can make video from clips without compromising quality, the more content you can produce.
Forget memorizing 100 shortcuts. Master these ten and you'll work 3x faster:
Don't reinvent the wheel every time you make video from clips. Create templates for recurring content types:
Batch operations save hours:
If you're producing regular content, these workflows compound efficiency gains over time.
Even experienced editors make these errors when they make video from clips under deadline pressure.
Simple prevention: Watch your rough cut with fresh eyes. Take a break, then review it as if you're seeing it for the first time. The problems will jump out.
Before you export and share, run through this:
| Check Item | Why It Matters |
|---|---|
| Watch with sound off | Tests if visuals carry the story |
| Watch sound only | Reveals audio issues you missed |
| Check on mobile | Most views happen on phones |
| Test on target platform | Each platform handles video differently |
| Get a second opinion | Fresh perspective catches blindspots |
Here's the truth nobody wants to hear: just because you can make video from clips yourself doesn't mean you should spend your time doing it.
Calculate your hourly value. If you bill at $100/hour and spend 6 hours editing one video, that's $600 in opportunity cost. Plus the mental drain, the learning curve, and the inevitable frustration.
DIY makes sense when:
Outsourcing makes sense when:
Marketers and agencies who need to make video from clips at scale increasingly turn to dedicated editing teams. The math simply works better than burning internal hours on timeline work.
Beyond technical skills, experienced editors understand pacing, storytelling, and platform nuances. They've made thousands of videos from clips and know what works.
Value-adds you might not consider:
When you work with services like beCreatives, you're not just outsourcing technical work. You're gaining a partner who helps you stay visible and consistent without the editing stress.
The smartest content creators don't just make video from clips once. They extract multiple videos from the same raw footage.
Start with one main piece – maybe a 10-minute YouTube video. Then break it down:
From one shoot, create:
This isn't being repetitive – it's being strategic. Different audiences consume content differently. Learn more about repurposing content effectively to maximize your footage investment.
When you make video from clips with repurposing in mind from the start, you shoot differently. You capture vertical footage. You grab extra B-roll. You record tighter shots that work cropped.
Shooting for multiple edits:
As you make more videos from clips, organization becomes make-or-break. Searching through hundreds of unnamed files kills momentum fast.
Bad: IMG_1234.mov, FINAL_v2_REAL_final.mp4
Good: 2026-09-15_ClientName_ProjectType_ClipDescription_Take02.mov
Include dates, project identifiers, and descriptive names. Future you will be grateful.
Project Name/
├── 01_Raw_Footage/
│   ├── Camera_A/
│   ├── Camera_B/
│   └── Phone_Clips/
├── 02_Audio/
├── 03_Graphics/
├── 04_Project_Files/
├── 05_Exports/
│   ├── Instagram/
│   ├── YouTube/
│   └── LinkedIn/
└── 06_Archive/
Consistency matters more than the exact structure. Pick a system and stick with it across all projects.
Modern asset management tools let you tag clips with keywords, making them searchable. When you need to make video from clips about "product launch," you can find every relevant clip instantly.
Useful tags to apply:
Technology evolves fast. The tools and formats that work today might be obsolete tomorrow. Smart editors build workflows that adapt.
When you make video from clips, save your raw footage in formats that will remain accessible. Proprietary formats from discontinued software become unusable quickly.
Safe bets for archival:
Avoid for long-term storage:
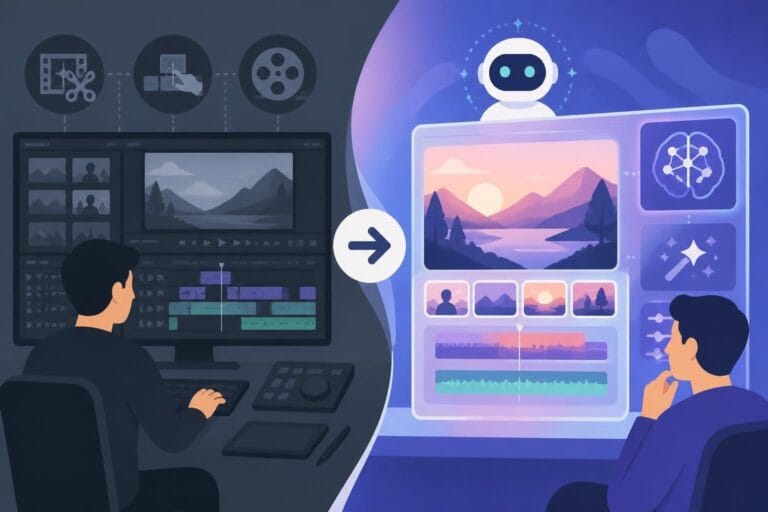
AI tools are rapidly changing how we make video from clips. They're not replacing editors, but they're handling tedious tasks:
These tools don't replace creative judgment. They just free you to focus on storytelling instead of technical grunt work.
Making professional videos from raw clips doesn't have to drain your time and energy. With the right workflows, tools, and organizational systems, you can turn scattered footage into engaging content that grows your brand and connects with your audience. If you're ready to skip the editing headaches and focus on what you do best, beCreatives offers unlimited video editing services with dedicated editors, unlimited storage, and seamless communication systems designed specifically for creators, marketers, and agencies who need consistent, professional video output without the stress.
Discover how post production video editing transforms raw footage into professional content. Learn workflows, tools, and outsourcing tips.
Master video editing HD quality standards, encoding settings, and workflow best practices to deliver professional content in 2026.
Discover what makes a YouTube video editing course worth your time in 2026, plus smarter alternatives for busy creators and agencies.
Looking to hire video editor for YouTube? Discover the best hiring strategies, what to look for, and how to build a winning content team in 2026.
Discover the best music video editing software for 2026. Compare features, pricing, and workflow tools to create stunning music videos faster.
Looking for a video editing company near me? Learn how to choose the right partner, what to expect, and whether local is best in 2026.
Discover how video editing AI online is changing content creation in 2026. Explore smart tools, workflows, and what creators really need to know.
Master wedding videography editing with expert tips on storytelling, pacing, and delivery. Learn how to transform raw footage into cinematic films.
Choosing an HD video editing app in 2026? Discover features, performance tips, and how professionals handle high-definition content.
Discover the best free simple editing software for videos and photos in 2026. Compare features, learn what works, and decide when to DIY or outsource.

Editing videos yourself can take a lot of your precious time, but do not worry – we‘ve got you covered! Our highly skilled Video Editors are here to speed up the process and give you time to create more content.
What do you need edits for?


Scratch to see who you got
This is your match, not your assignment.
We confirm your editor once you subscribe.
Pick a time that works and we’ll take it from there.
Open the booking page15 minutes, free