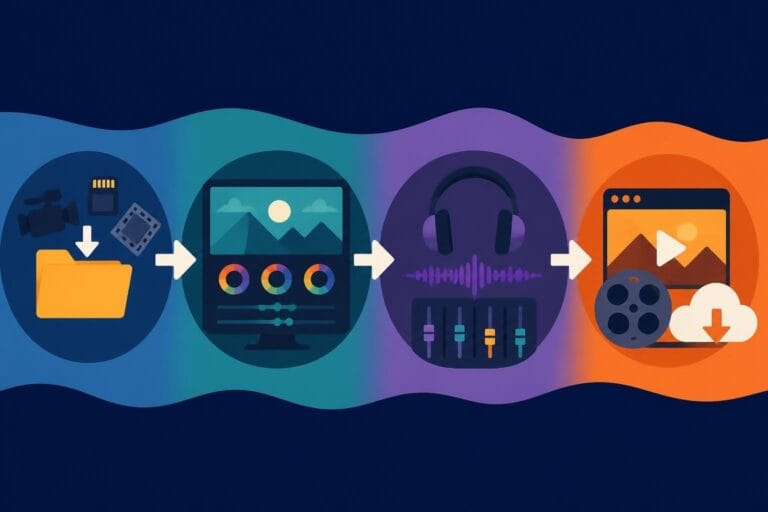
Post Production Video Editing: Complete Guide for 2026
Discover how post production video editing transforms raw footage into professional content. Learn workflows, tools, and outsourcing tips.
10 Min. ReadRead More
5 dedicated editor spots open this week. Book a call to reserve →
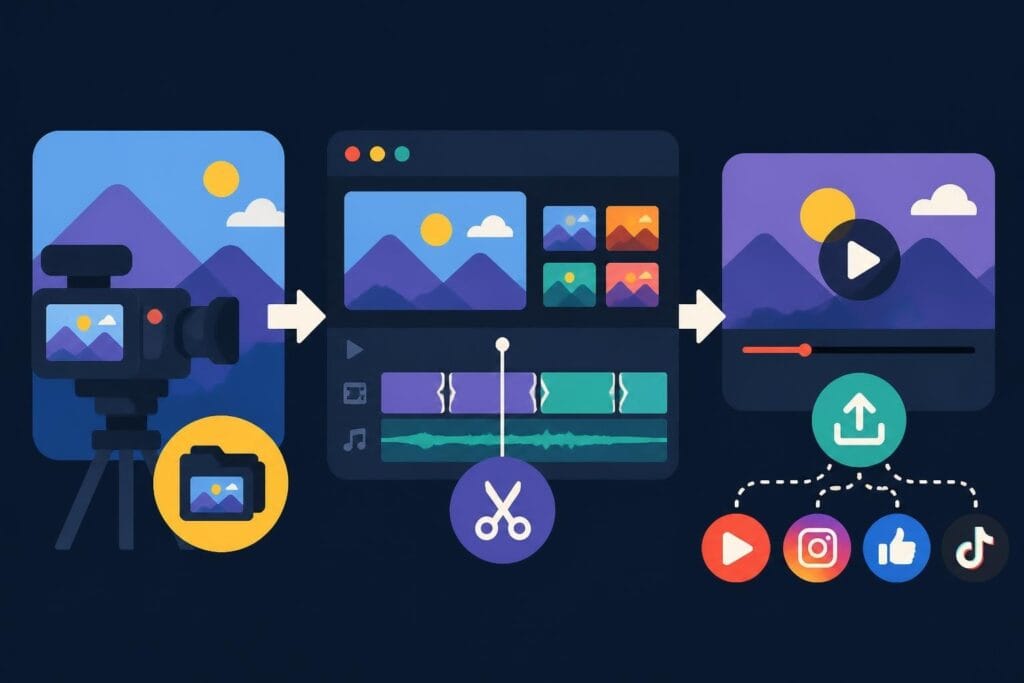
Learn how to make and edit videos faster and smarter in 2026. Discover tools, workflows, and pro tips to create video content that drives growth.
September 11, 2026
Creating video content in 2026 isn't optional anymore – it's how you stay visible, build trust, and grow your audience. Whether you're a business owner documenting your journey, a marketer launching campaigns, or an agency managing multiple clients, knowing how to make and edit videos efficiently separates those who thrive from those who burn out. The good news? You don't need a film degree or a massive budget. What you need is a smart workflow, the right tools, and a realistic understanding of where your time is best spent.
Video continues to outperform every other content format. Social algorithms prioritize it, audiences engage with it longer, and search engines rank it higher. But here's the catch: everyone's making videos now. The bar for quality has risen, and so has viewer expectation.
Your audience expects:
The creators and brands winning attention aren't necessarily the ones with the fanciest gear. They're the ones who make and edit videos consistently, maintain quality standards, and understand their audience deeply. Consistency beats perfection every single time.
Let's talk about what it actually takes to make and edit videos yourself. Recording is the easy part – it's what happens after you stop the camera that eats your time.
A typical 10-minute video requires:
That's 4-7 hours per video. If you're posting three times a week, you're spending 12-21 hours editing. That's half a workweek – time you could spend creating content, serving clients, or actually growing your business.
Smart creators plan backwards. They start with distribution, then work back to editing, then filming. This approach eliminates wasted effort and ensures every video serves a purpose.
1. Define your video's goal
Every video needs one clear objective. Drive traffic to a landing page? Build brand awareness? Generate leads? Educate customers? Your goal determines everything from length to tone to call-to-action.
2. Script or outline your content
Even casual, conversational videos benefit from structure. You don't need a word-for-word script, but knowing your opening hook, main points, and closing CTA prevents rambling and reduces editing time. Smart video planning tools can help structure your ideas before you hit record.
3. Prep your recording space
Consistency matters. Use the same background, lighting setup, and audio equipment each time. This creates brand recognition and makes editing easier since color and audio characteristics remain similar across recordings.
| Pre-Production Element | Time Investment | Time Saved in Editing |
|---|---|---|
| Detailed outline | 15 minutes | 45-60 minutes |
| Script with timestamps | 30 minutes | 1-2 hours |
| Location prep and lighting test | 20 minutes | 30-45 minutes |
| Audio check and backup recorder | 10 minutes | 1-3 hours (prevents re-shoots) |
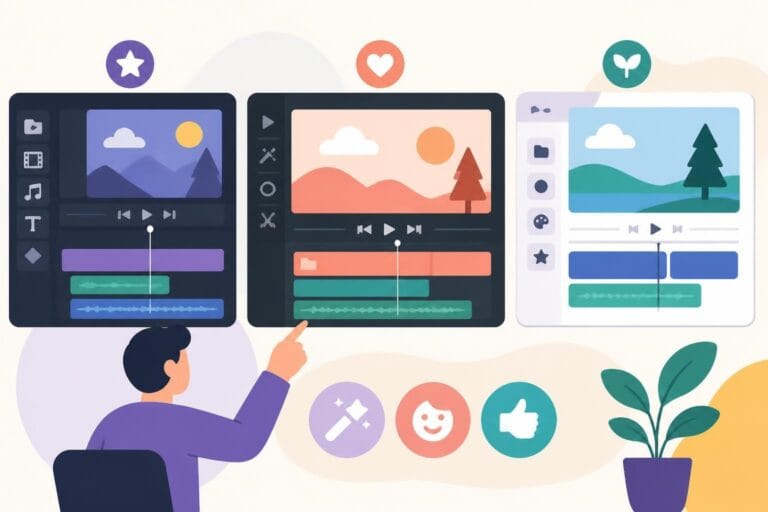
The software landscape in 2026 offers options for every skill level and budget. The key isn't finding the "best" tool – it's finding the right tool for your workflow and sticking with it long enough to get fast.
For beginners: Start with tools that have intuitive interfaces and templates. CapCut, iMovie, and DaVinci Resolve's free version offer surprising power without overwhelming new editors.
For intermediate users: Adobe Premiere Pro and Final Cut Pro remain industry standards. They integrate well with other creative tools and handle projects of any complexity. Understanding video codecs and container formats helps optimize exports for different platforms.
For advanced workflows: Professional editors often combine multiple tools. They might edit in Premiere, color grade in DaVinci, and use FFmpeg documentation for batch processing and automation.
The software doesn't matter as much as your efficiency with it. A creator who knows their tool deeply will make and edit videos faster than someone constantly switching between "better" options.
You don't need a cinema camera to create professional-looking content. In 2026, most smartphones shoot in 4K with impressive stabilization. What matters more:
Lighting: Good light transforms mediocre cameras into great ones. A simple three-point lighting setup (key, fill, backlight) costs under $200 and dramatically improves production value.
Audio: Bad audio kills videos faster than poor visuals. A decent microphone ($50-150) makes you sound clear and professional. Viewers forgive shaky footage but abandon videos with echo-filled, tinny audio.
Stability: Whether it's a $30 tripod or your phone's built-in stabilization, avoid shaky footage. Stable shots require less correction when you make and edit videos.
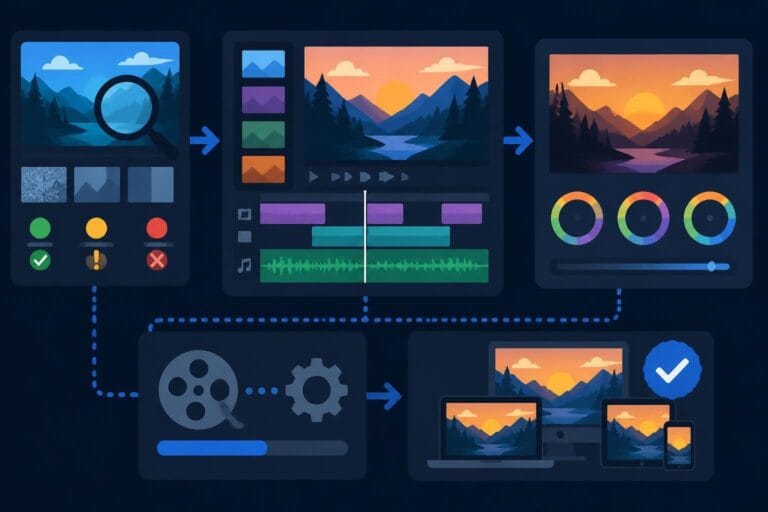
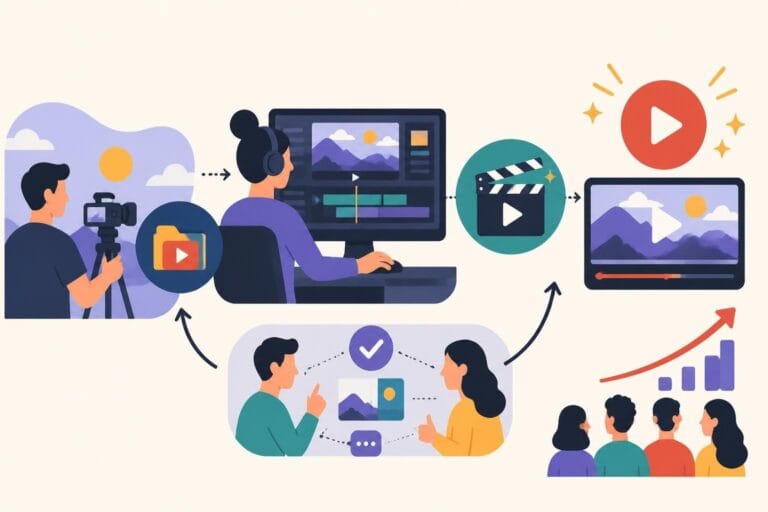
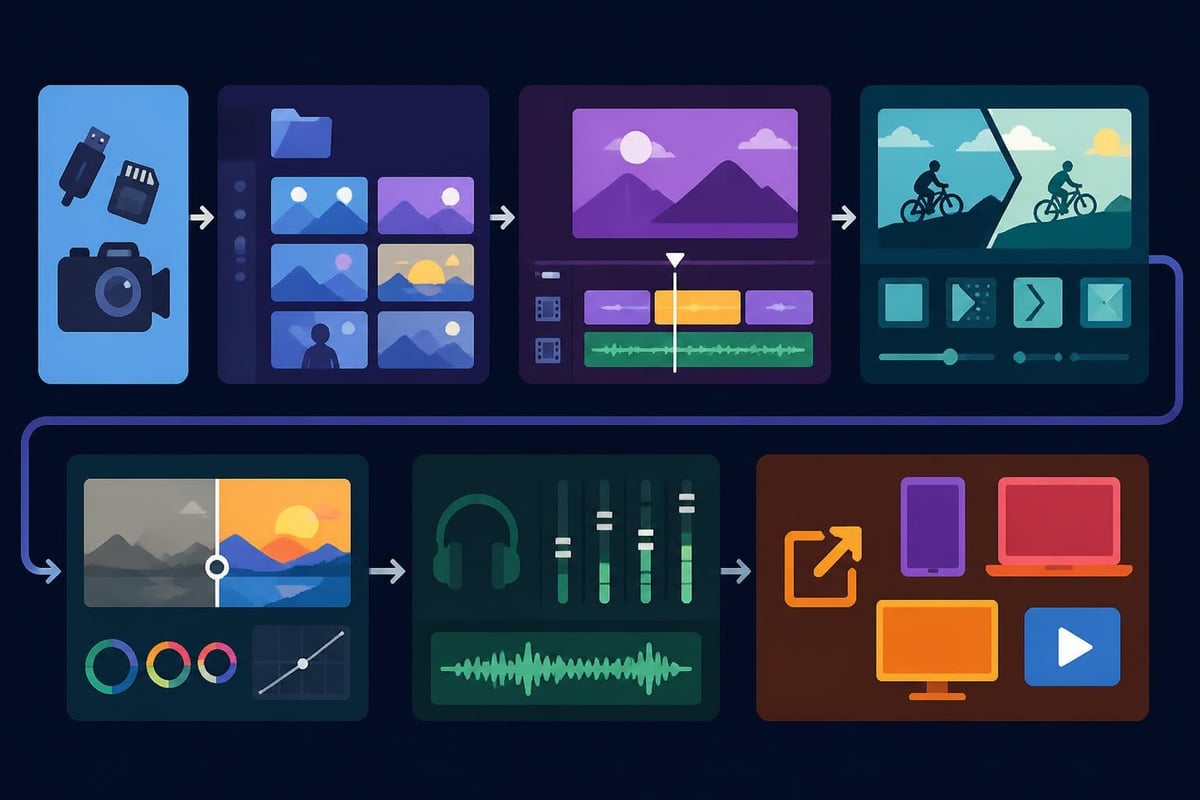
Understanding the editing workflow helps you work faster and make better decisions about what to handle yourself versus what to delegate.
Create a folder structure before you start cutting:
Professional editors spend less time editing because they spend more time organizing. Label your clips clearly. You'll thank yourself when you're 90 minutes into an edit and need to find that specific B-roll shot.
Import everything into your editing software. Watch through your footage once, marking the good takes. Then assemble your story without worrying about perfection.
Focus on:
Don't add effects, color grade, or obsess over transitions yet. Structure first, polish later.
Now you make it pretty. This is where most DIY editors get stuck, spending hours tweaking details that viewers barely notice.
Priority order for polishing:
Adding accessible captions using proper standards isn't just good practice – it expands your audience and improves engagement since most social videos play muted.
Different platforms need different export settings. Instagram prefers square or vertical. YouTube loves horizontal 16:9. TikTok wants vertical 9:16. Modern video streaming protocols help deliver the right format to each viewer's device.
Export once at the highest quality you'll need, then create platform-specific versions. Store these organized by platform so you can quickly repost or repurpose later. Speaking of repurposing, smart content strategies let you create once and publish everywhere.
Once you're comfortable with basics, these techniques separate good videos from great ones.
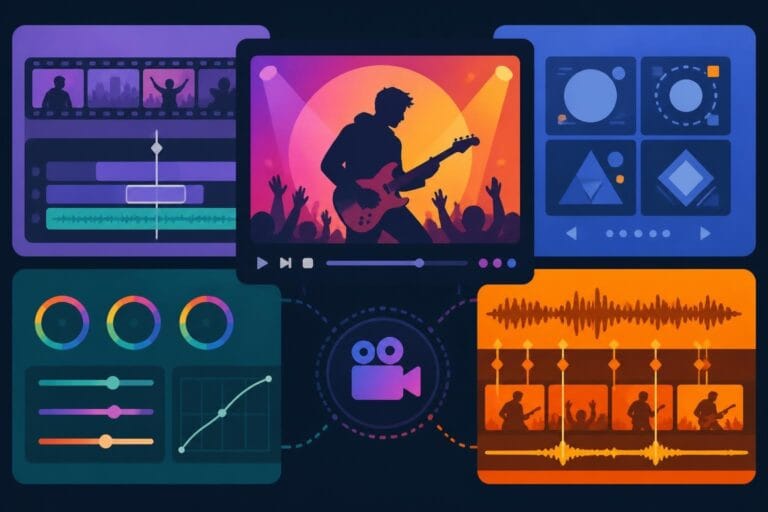
Recording from multiple angles adds production value and gives you editing flexibility. Sync cameras using a clap or audio spike, then cut between angles to maintain visual interest. Professional timecode synchronization standards ensure frame-accurate sync in complex projects.
Text doesn't have to be static. Subtle animation draws the eye to key points without being distracting. Lower thirds that slide in, animated subscribe buttons, and kinetic typography keep viewers engaged.
Great videos use multiple audio layers:
Mix these thoughtfully. Music should support your message, not compete with your voice.
B-roll is supplemental footage that illustrates what you're saying. Talking about productivity? Show someone working at a computer. Discussing travel? Cut to scenic shots. B-roll transforms talking-head videos into dynamic stories.
Learning to make and edit videos means learning what NOT to do. Avoid these traps:
Over-editing: Knowing when to stop is a skill. That tenth transition variation probably isn't making your video better – it's just delaying publication.
Ignoring audio: Viewers tolerate imperfect video quality far more than bad audio. Always prioritize clean sound.
Inconsistent branding: Changing fonts, colors, and styles every video confuses your audience. Create templates and stick with them.
Perfectionism: Done is better than perfect. Ship the video, learn from audience response, and improve the next one.
Neglecting backups: Hard drives fail. Cloud storage is cheap. Losing hours of work to a technical failure is inexcusable in 2026.
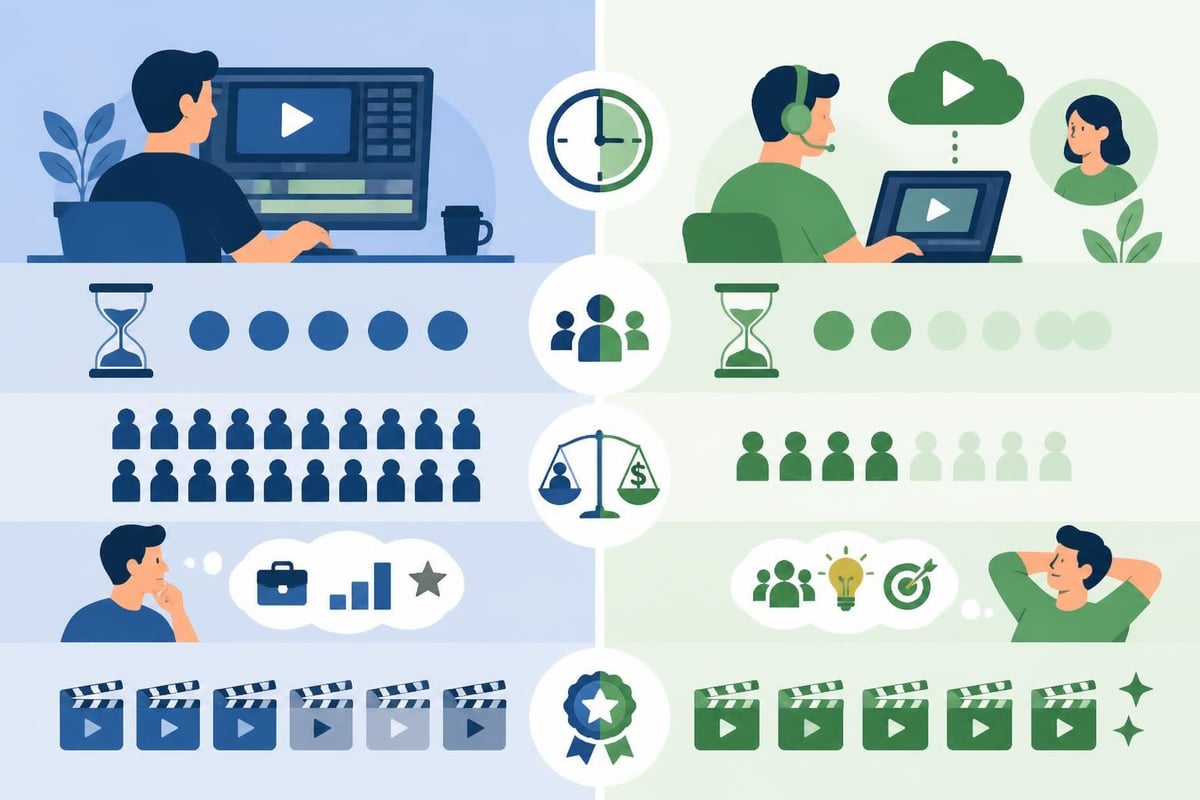
Here's the truth most "how to edit" guides won't tell you: editing might not be the best use of your time. If you can earn more in an hour than editing costs, outsourcing makes financial sense.
Signs you should delegate editing:
Professional video editing services handle the technical heavy lifting while you focus on creating content, serving customers, and growing your business. The math is simple: if editing takes you 15 hours weekly, that's 780 hours annually – almost 100 full workdays.
Each platform has quirks that affect how you should make and edit videos.
YouTube rewards watch time and engagement. Create content that keeps viewers watching past the first 30 seconds. Add chapters to help people navigate longer videos. End screens should promote your next video or channel subscription.
Optimal specs for 2026:
Short-form vertical video dominates these platforms. The first three seconds determine whether viewers keep watching or scroll past.
Key tactics:
LinkedIn audiences prefer educational, insight-driven content. Production quality matters, but authenticity matters more. Talking-head videos with valuable insights outperform overly polished corporate videos.
Keep it concise (under 3 minutes), add captions, and include a clear takeaway. Content tailored for specific niches performs better than generic business advice.
The creators who publish consistently don't work harder – they work smarter. They've built systems that reduce decision fatigue and streamline production.
Record multiple videos in one session. Set aside four hours, change shirts between recordings, and knock out eight videos. This is more efficient than setting up equipment multiple times weekly.
Create project templates with:
Templates let you drag in new footage and have a video 80% finished in minutes.
Plan content themes monthly. Know what you're filming before you're scrambling for ideas Thursday night. A simple spreadsheet tracking topics, filming dates, publish dates, and status prevents missed deadlines.
| Week | Topic | Format | Filming Date | Status | Publish Date |
|---|---|---|---|---|---|
| Week 1 | Industry trend analysis | Talking head + B-roll | Jan 2 | Editing | Jan 6 |
| Week 2 | Client success story | Interview | Jan 9 | Filmed | Jan 13 |
| Week 3 | Behind-the-scenes | Vlog style | Jan 16 | Planning | Jan 20 |
| Week 4 | How-to tutorial | Screen recording + face | Jan 23 | Planning | Jan 27 |
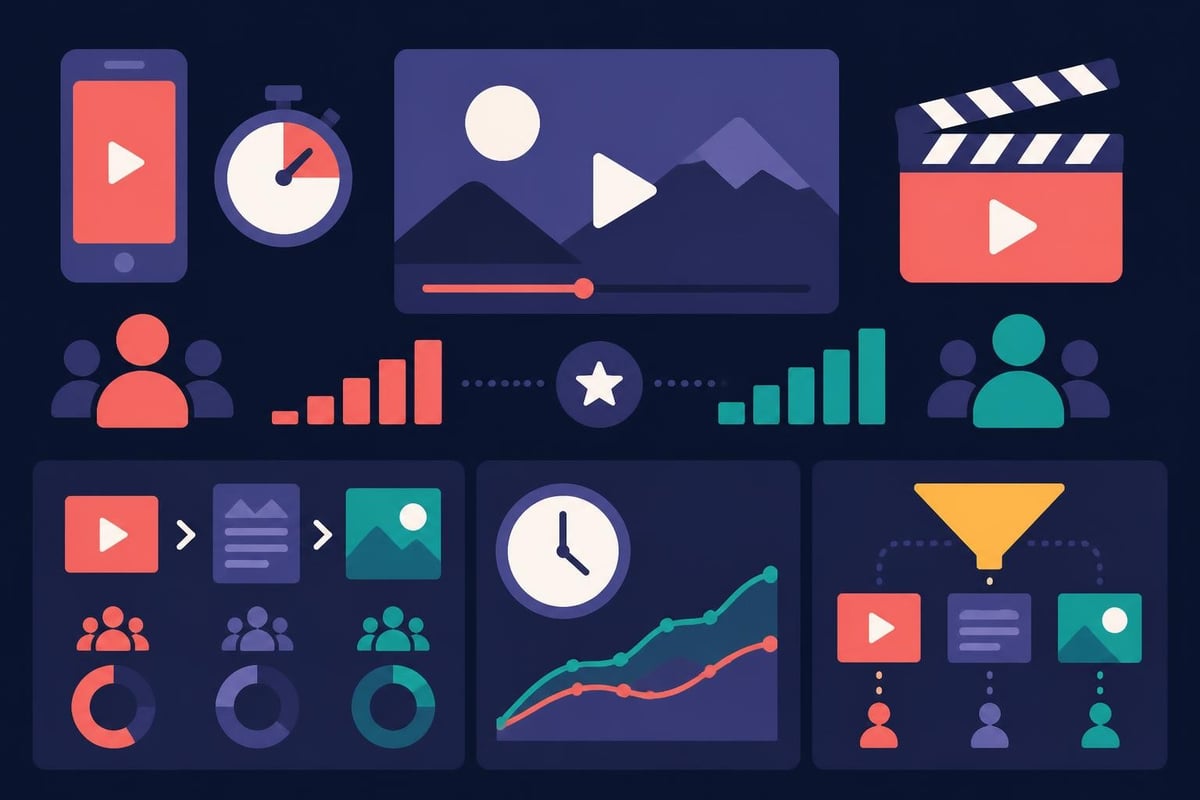
You can make and edit videos forever, but without measuring performance, you're guessing. Track metrics that align with your goals.
For awareness: Views, impressions, and reach tell you if people are seeing your content.
For engagement: Watch time, likes, comments, and shares show if your content resonates.
For conversion: Click-through rates, lead captures, and sales indicate if videos drive business results.
Most platforms offer built-in analytics. Check them weekly. Which videos performed best? What patterns emerge? Double down on what works.
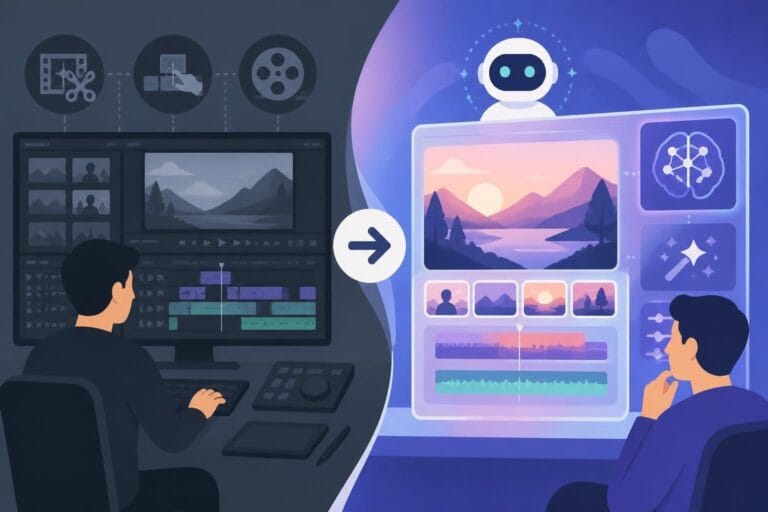
AI tools are changing how creators make and edit videos. In 2026, AI can:
These tools accelerate workflows but don't replace creative judgment. Use them to handle repetitive tasks while you focus on storytelling, strategy, and connection.
The barrier to entry for video creation keeps dropping. That's exciting and challenging. More creators means more competition for attention. Quality and consistency become your differentiators.
The biggest mistake new video creators make is sprinting unsustainably. They publish daily for two weeks, burn out, and disappear for months. Build a pace you can maintain indefinitely.
Sustainability strategies:
Your long-term presence matters more than your short-term intensity. Audiences grow to trust creators who show up reliably, not those who appear in intense bursts then vanish.
Learning to make and edit videos is valuable, but knowing when to outsource is equally important. Your unique perspective, expertise, and personality are irreplaceable. The technical execution? That can be handled by specialists while you focus on growing your business and serving your audience.
Learning to make and edit videos transforms your ability to connect with audiences and grow your brand, but the technical process doesn't have to consume your schedule. Focus your energy on the creative strategy and content that only you can deliver. When you're ready to reclaim those 15-20 weekly editing hours, beCreatives offers unlimited video editing with dedicated editors, seamless revisions, and unlimited storage – so you can create more, stress less, and stay consistently visible without the editing overwhelm.
Discover how post production video editing transforms raw footage into professional content. Learn workflows, tools, and outsourcing tips.
Master video editing HD quality standards, encoding settings, and workflow best practices to deliver professional content in 2026.
Discover what makes a YouTube video editing course worth your time in 2026, plus smarter alternatives for busy creators and agencies.
Looking to hire video editor for YouTube? Discover the best hiring strategies, what to look for, and how to build a winning content team in 2026.
Discover the best music video editing software for 2026. Compare features, pricing, and workflow tools to create stunning music videos faster.
Looking for a video editing company near me? Learn how to choose the right partner, what to expect, and whether local is best in 2026.
Discover how video editing AI online is changing content creation in 2026. Explore smart tools, workflows, and what creators really need to know.
Master wedding videography editing with expert tips on storytelling, pacing, and delivery. Learn how to transform raw footage into cinematic films.
Choosing an HD video editing app in 2026? Discover features, performance tips, and how professionals handle high-definition content.
Discover the best free simple editing software for videos and photos in 2026. Compare features, learn what works, and decide when to DIY or outsource.

Editing videos yourself can take a lot of your precious time, but do not worry – we‘ve got you covered! Our highly skilled Video Editors are here to speed up the process and give you time to create more content.
What do you need edits for?


Scratch to see who you got
This is your match, not your assignment.
We confirm your editor once you subscribe.
Pick a time that works and we’ll take it from there.
Open the booking page15 minutes, free