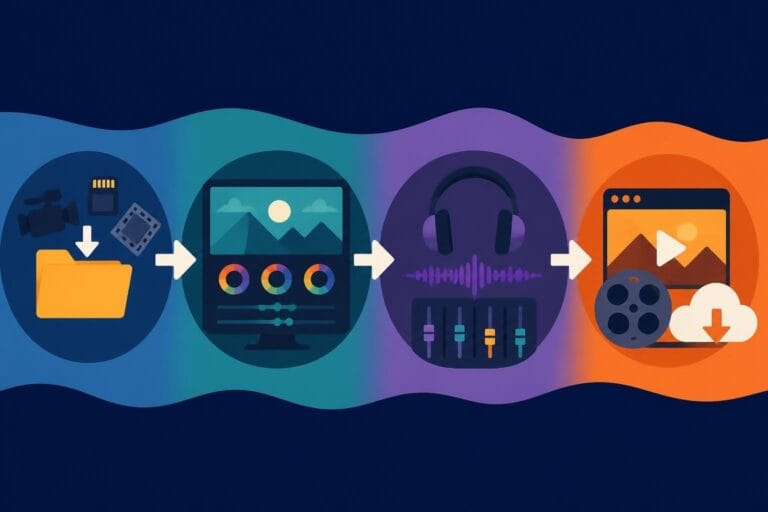
Post Production Video Editing: Complete Guide for 2026
Discover how post production video editing transforms raw footage into professional content. Learn workflows, tools, and outsourcing tips.
10 Min. ReadRead More
5 dedicated editor spots open this week. Book a call to reserve →
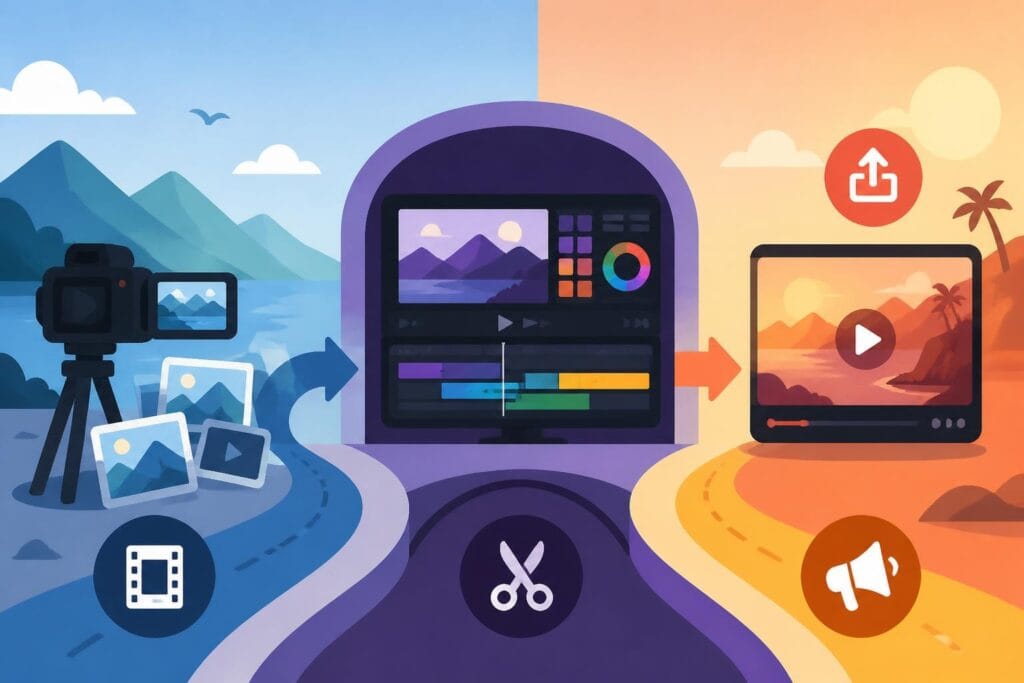
Master vlog video editing without the stress. Learn workflow tips, storytelling tricks, and how outsourcing editing helps you stay consistent.
 Knowledge Base
May 26, 2026
Creating vlogs is fun. Editing them? That's where things get tricky. You've got hours of footage, a million cuts to make, and your audience waiting for the next upload. The reality is that vlog video editing can either be your creative outlet or your biggest time drain, depending on how you approach it. Whether you're filming daily life, travel adventures, or business updates, the editing process transforms raw clips into stories people actually want to watch. Let's break down what makes vlog editing work without burning you out in the process.
Vlog editing has its own rhythm. Unlike scripted content or talking-head videos, vlogs capture real moments as they happen. You're working with:
This means your editing approach needs flexibility. You can't just slap a template on it and call it done. Vlog video editing requires you to find the story within the chaos, cutting out the boring bits while keeping the authentic feel that makes vlogs relatable.
The challenge doubles when you're trying to maintain a consistent upload schedule. Daily vloggers especially feel this crunch. You're filming today, editing tonight, and uploading tomorrow morning. That cycle becomes unsustainable fast without a solid system in place.
Here's what most vloggers discover after their first month: filming takes an hour, editing takes four. You shoot a 20-minute grocery store trip, and suddenly you're spending your entire evening trimming clips, syncing audio, and adding transitions. One creator shared that their 10-minute vlog required roughly 3-4 hours of editing time once they factored in everything from import to export.
| Editing Task | Time Investment | Skill Level Required |
|---|---|---|
| Rough cut | 1-2 hours | Beginner |
| Color correction | 30-45 minutes | Intermediate |
| Audio mixing | 45-60 minutes | Intermediate |
| Transitions & effects | 30-45 minutes | Beginner |
| Rendering & uploading | 20-40 minutes | Beginner |
That's why understanding video production and editing workflows matters more than knowing every fancy technique. Speed beats perfection when you're trying to stay consistent.
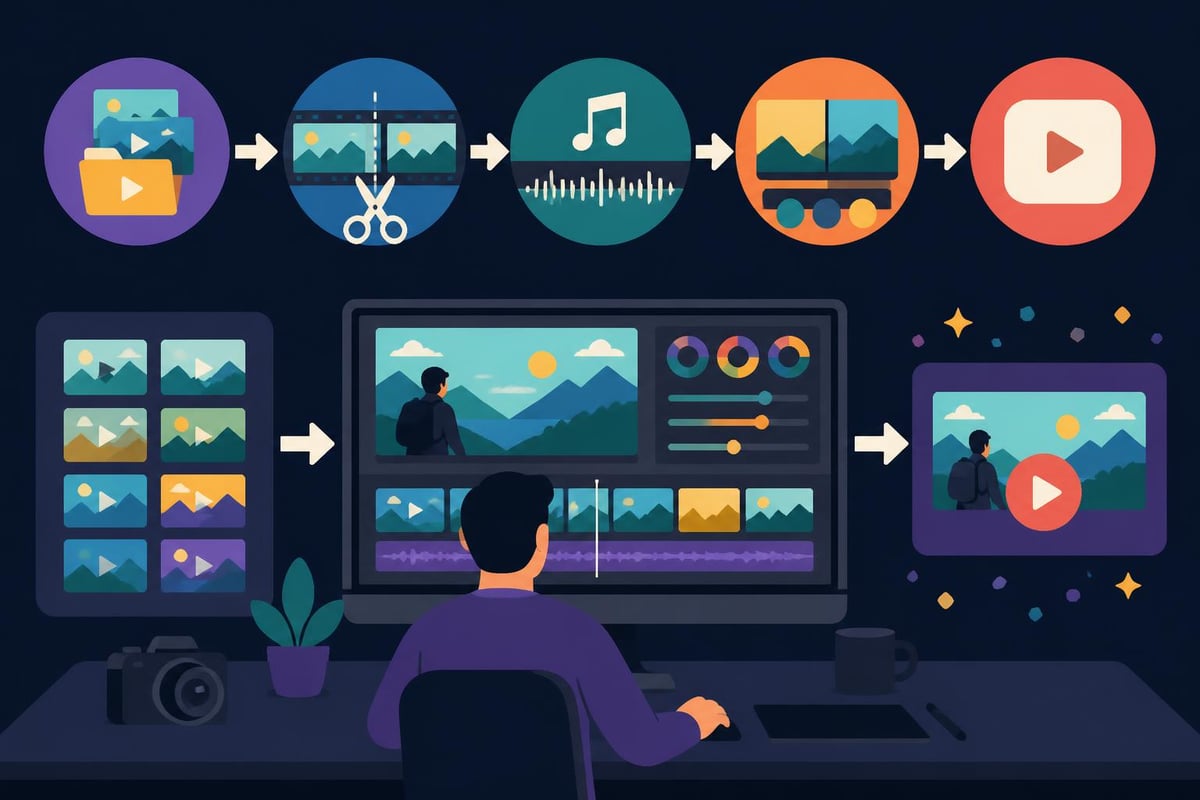
The difference between spending all weekend editing and getting it done in a couple hours comes down to workflow. Professional vloggers follow systems, not inspiration. Here's what actually works:
Before you even open your editing software:
This pre-editing phase saves hours later. You're not hunting through random clips trying to remember where that funny moment happened. Everything has a place, and you know exactly what you've got to work with.
The software debate never ends, but here's the truth: the best editing program is the one you'll actually use consistently. Top vlog editing software options range from beginner-friendly apps to professional suites, and your choice should match your current skill level, not your aspirations.
For beginners starting out:
For creators scaling up:
The software matters less than your ability to move quickly through it. Learning keyboard shortcuts alone can cut your editing time in half. But honestly? If you're spending more time troubleshooting software than creating content, you're already losing the game.
Here's where vlog video editing becomes an art form. You need to cut out the dead air, the ums and ahs, the moments where nothing happens. But cut too much and your vlog feels frantic and unnatural. Cut too little and viewers click away before minute two.
The sweet spot exists in something called "controlled chaos." Your vlog should feel spontaneous while actually being carefully crafted. This means:
Watch your footage and ask: "Would I keep watching this part if I wasn't in it?" That question cuts through attachment to your own content. If a section drags, it drags for everyone.
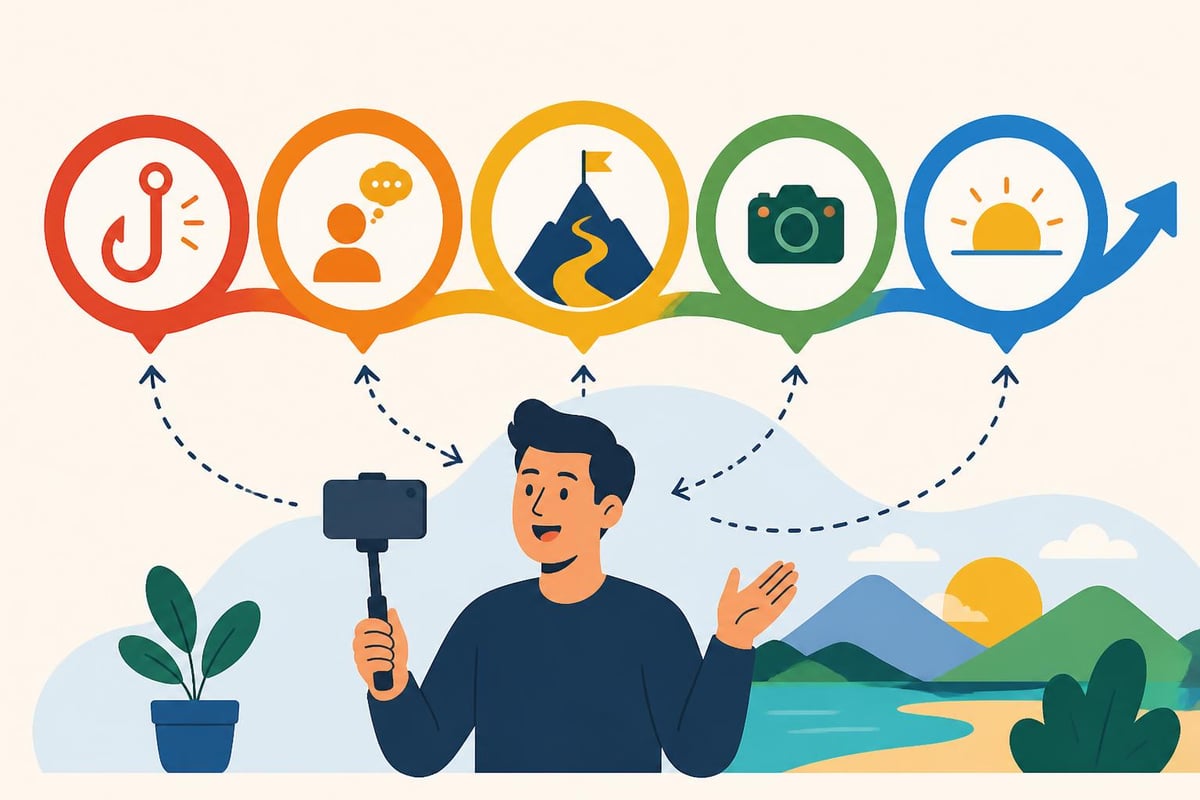
Even "day in the life" vlogs need structure. The step-by-step workflow for editing vlogs typically follows this narrative arc:
| Vlog Section | Purpose | Typical Length |
|---|---|---|
| Hook | Grab attention in first 5 seconds | 5-15 seconds |
| Introduction | Set up the day/topic | 15-30 seconds |
| Main content | The bulk of your story | 5-8 minutes |
| Climax/key moment | The most interesting part | 1-2 minutes |
| Wrap-up | Reflection and CTA | 30-45 seconds |
This structure works whether you're filming travel adventures or morning routines. Viewers subconsciously expect a journey, even in casual content. Give them one, and they'll stick around.
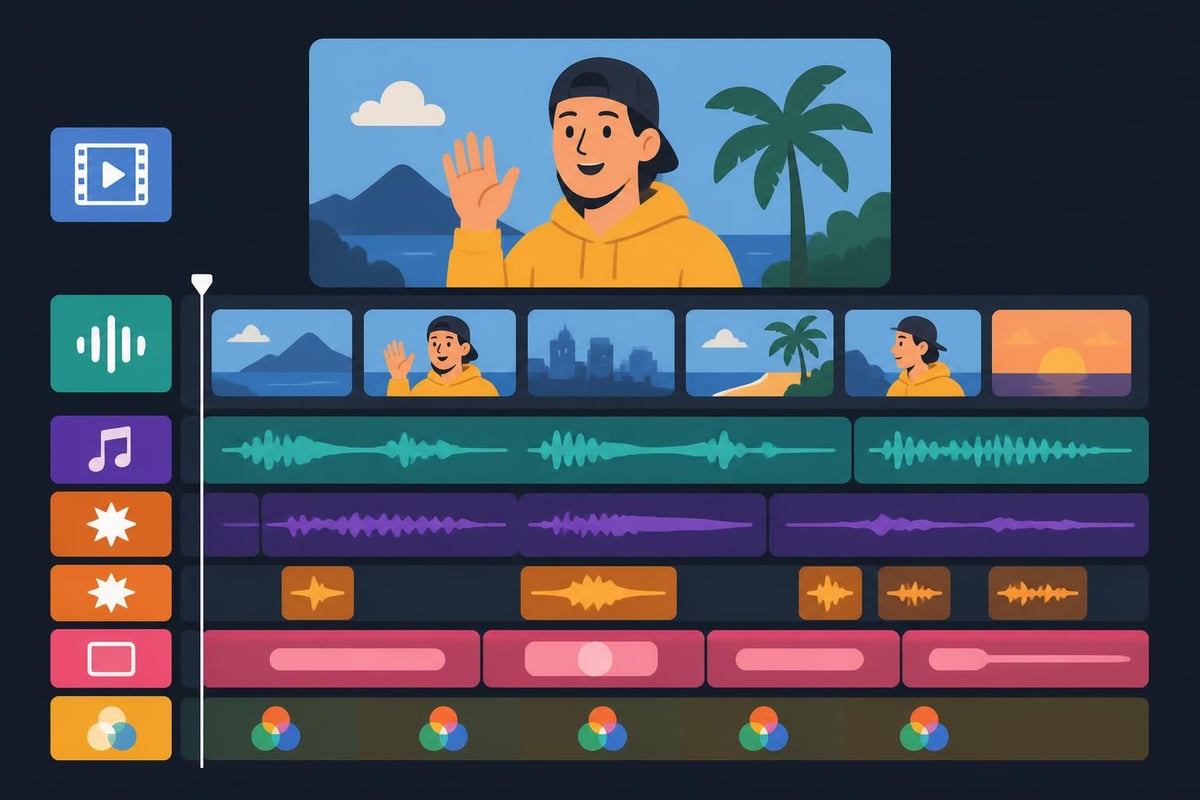
You can get away with mediocre footage. Shaky camera? That's authentic. Weird lighting? Adds character. But bad audio will sink your vlog faster than anything else. Viewers tolerate visual imperfection but abandon videos they can't hear properly.
Vlog video editing must include serious audio work:
Most editing software includes basic audio tools, but learning to use them properly takes practice. Start with simple adjustments: boost quiet sections, lower loud ones, and add a subtle music bed underneath talking sections. As you improve, dive into EQ and compression.
The music choice especially matters. Upbeat tracks work for energetic vlogs, while mellow instrumentals suit reflective content. Just make sure you're using royalty-free music or tracks you have licenses for. Copyright strikes aren't worth it.
These tweaks take minutes but make your vlog sound like you know what you're doing. Combined with decent footage, they create that "polished but real" feeling successful vloggers nail.
Color correction and color grading are different things. Correction fixes problems: you make whites actually white, balance exposure, and match shots from different cameras or times of day. Grading adds style: you create a specific mood or look.
For vlogs, correction matters more than grading. Your footage should look natural and consistent. Save the heavy cinematic color grades for narrative content. Vlog audiences want to see real life, not a movie.
Basic color workflow for vlogs:
Many creators develop a signature look over time. Maybe your vlogs always have slightly warmed-up tones, or you keep contrast a bit higher than default. That consistency becomes part of your brand. Just don't make everything orange and teal because you saw it in a tutorial.
Nothing dates a vlog faster than excessive transitions. The star wipe had its moment. That moment was 1977. These days, smooth editing means viewers don't notice the cuts unless you want them to.
Transitions that work in 2026:
What to avoid:
Your video editing ideas should serve the story, not distract from it. If viewers remember your transition more than your content, you've gone too far.
Lower thirds, location tags, and quick text callouts can enhance vlogs when used strategically. They help clarify information, add humor, or emphasize key points. The trick is timing and restraint.
Use text overlays to:
Keep them on screen just long enough to read comfortably, usually 2-3 seconds. Make sure they're legible on mobile devices since that's where most viewers watch. And please, for everyone's sanity, use readable fonts. Your vlog isn't a ransom note.
A vlog edited for YouTube needs different treatment than one going to TikTok or Instagram. Aspect ratios change, attention spans vary, and what hooks viewers differs by platform. Smart creators either edit multiple versions or choose one primary platform and adapt.
| Platform | Aspect Ratio | Ideal Length | Pacing |
|---|---|---|---|
| YouTube | 16:9 | 8-15 minutes | Moderate |
| Instagram Reels | 9:16 | 30-90 seconds | Fast |
| TikTok | 9:16 | 15-60 seconds | Very fast |
| 16:9 or 1:1 | 3-5 minutes | Moderate |
For creators managing multiple platforms, social media video editing becomes a separate skill set. You're not just editing one vlog; you're creating an ecosystem of content from the same footage. That's where the time investment really multiplies.
The smartest move in vlog video editing? Plan for repurposing from the start. While editing your main YouTube vlog, identify:
This approach maximizes your filming effort. One day of shooting becomes a week's worth of content across platforms. But it also requires thinking ahead during the editing process, flagging sections worth extracting as you go.
Services like Instagram Reels editing or TikTok video editing specialize in this kind of repurposing, transforming long-form content into platform-specific clips that actually perform.
Let's talk about something most vlogging advice skips: whether you should even be editing your own vlogs. If you're just starting out, absolutely learn the basics. Understanding the process makes you a better content creator. But once you're established and trying to scale? Your time has a dollar value.
Calculate it honestly. If editing one vlog takes four hours and you could spend those four hours on activities that generate income or grow your audience, you're losing money by editing. A creator earning $50/hour from brand deals or products literally loses $200 every time they edit instead of creating more filmable content or securing partnerships.
Signs it's time to outsource vlog video editing:
This isn't about being lazy. It's about understanding where your unique value lives. Nobody else can be you on camera. But plenty of skilled editors can transform your footage into polished vlogs.
Hiring help doesn't mean handing footage to a stranger and hoping for the best. Professional vlog editors bring experience with pacing, storytelling, and what actually keeps viewers watching. They've edited hundreds or thousands of vlogs and know what works.
More importantly, they're not emotionally attached to your footage. They'll cut that five-minute section you love but viewers will skip. They'll tighten dialogue you thought was fine. They'll add energy where you didn't realize it dragged.
The best part? You get hours back in your week. Time to film more content, engage with your audience, develop new ideas, or simply live the life you're vlogging about. Many creators report their content quality actually improves after outsourcing because they're fresher, more present while filming, and thinking bigger picture instead of dreading the editing cave.
Not all video editors understand vlog style. You need someone who gets the format's unique requirements:
The right editor becomes an extension of your creative team. They learn your preferences, anticipate your needs, and deliver content that feels like you edited it yourself, minus the time investment.
Traditional video editing services charge per project or per minute. That works fine for one-off videos, but vloggers working on volume need a different model. Unlimited editing services offer consistent support without the per-video math that makes scaling expensive.
This model works especially well for:
With unlimited editing, you're not choosing between "can I afford to edit this vlog?" and "should I skip this week?" You send footage, get edited content back, request revisions, and repeat. The financial predictability alone removes a major stress point from content creation.
What unlimited editing typically includes:
This approach transforms editing from a variable cost and time drain into a predictable system. You know your videos get done, you know when, and you know what it costs. That certainty lets you plan content calendars, commit to sponsorships, and actually show up consistently for your audience.
The transition from editing your own vlogs to working with an editor takes adjustment. You're trusting someone else with your creative vision. But the process gets smoother when you:
Provide clear direction upfront
Create systems for feedback
Most creators find their editing actually improves after outsourcing because they're thinking more strategically. Instead of focusing on where to cut, they're considering story arcs, viewer retention, and how content fits into larger goals. That's the shift from technician to creative director.
Working with dedicated editors through platforms focused on creator needs means you're not training someone new every project. Your editor learns your quirks, remembers your preferences, and gets faster at delivering what you want. That relationship becomes invaluable as your channel grows.
Vlog video editing doesn't have to consume your life or compromise your content quality. The key is recognizing what deserves your personal attention and what benefits from professional support. When you're ready to reclaim your time while maintaining (or improving) your vlog quality, beCreatives offers unlimited video editing services with dedicated editors who understand the vlogging grind. Upload your footage, communicate your vision, and get back to what you do best: creating content your audience actually wants to watch.
Discover how post production video editing transforms raw footage into professional content. Learn workflows, tools, and outsourcing tips.
Master video editing HD quality standards, encoding settings, and workflow best practices to deliver professional content in 2026.
Discover what makes a YouTube video editing course worth your time in 2026, plus smarter alternatives for busy creators and agencies.
Looking to hire video editor for YouTube? Discover the best hiring strategies, what to look for, and how to build a winning content team in 2026.
Discover the best music video editing software for 2026. Compare features, pricing, and workflow tools to create stunning music videos faster.
Looking for a video editing company near me? Learn how to choose the right partner, what to expect, and whether local is best in 2026.
Discover how video editing AI online is changing content creation in 2026. Explore smart tools, workflows, and what creators really need to know.
Master wedding videography editing with expert tips on storytelling, pacing, and delivery. Learn how to transform raw footage into cinematic films.
Choosing an HD video editing app in 2026? Discover features, performance tips, and how professionals handle high-definition content.
Discover the best free simple editing software for videos and photos in 2026. Compare features, learn what works, and decide when to DIY or outsource.
Editing videos yourself can take a lot of your precious time, but do not worry – we‘ve got you covered! Our highly skilled Video Editors are here to speed up the process and give you time to create more content.
What do you need edits for?
Scratch to see who you got
This is your match, not your assignment.
We confirm your editor once you subscribe.
Pick a time that works and we’ll take it from there.
Open the booking page15 minutes, free